Tile Installation Process
How Difficult is Tile Installation?
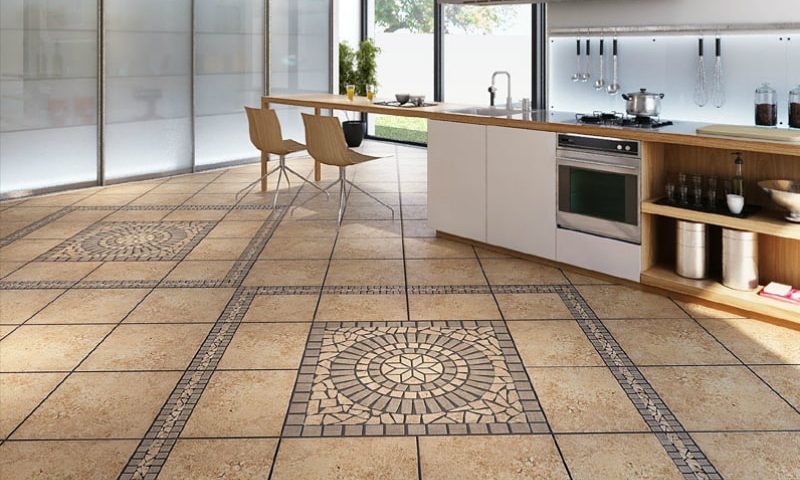
Before you pick out your tile, you want to have a good idea of what you will be using the space for and what environment it is in. Installation in outdoor areas where freezing and thawing occur, or installation in a wet area such as a shower, involve some extra considerations, and it always good to do your research. The supplies and tools you will need are the tile, trowel, mastic, spacers for tiles, buckets of water, sponges, nippers to trim tile, a tile saw which can often be rented, grout, a small trowel to apply it, and a grout sealant and small brush to apply it.
Start with the Base
It is important that the surface you are tiling be smooth, solid and free from any shifting or movement. If the base isn’t stable, the tile will crack sooner or later. A thin layer of plywood makes a good base. In wet areas, cement board is used instead. Draw out your tiling pattern first and know exactly how you want to manage ends, edges and corners. Trowel on a generous amount of mastic (a type of glue) and run back over it with the trowel to create a striped effect.
The tile is pressed on with a slight twisting motion to set the tile into the glue. You can use spacers between each tile to insure a uniform gap for grout. Once the whole area is tiled, it must set. Floors need to be zoned off and not walked on until the tile is well set. After a period of time, usually 24 to 48 hours, the tile is grouted and wiped down completely. Another 24 to 48 hours later, the tile grout can be sealed. This is a simple overview of the tile installation process. If you are planning a DIY tile project, do your research and allow plenty of time.
